Showing posts with label tutorial. Show all posts

Saturday, June 6, 2015

Invitation. Decoration. Celebration.

A Baptism/Birthday Party Tutorial  

We hosted a two-fer party in February for our grandson Daniel. Well, maybe a three-fer.
(a) On Saturday, February 14th--Valentine's Day--our little sweetheart would be
(b) baptized and
(c) celebrate Birthday #3.

Since I really enjoy decorating our home for a party, I scoured Pinterest for ideas. Nix on baby blue baptism with doves. Nix on a shower of Valentine hearts. Nix on Thomas the Train or Wheels-themed birthday. I was stumped; how do I blend all these celebrations into one? Shopping excursions to Target and (where else?) Hobby Lobby scored me some inspiration items. Those, along with illustrations from a children's book from GiGi's stash, were my jumping off place.
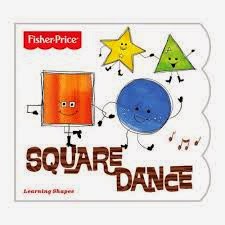
I used this book (in GiGi's stash)
as inspiration for our happy celebration.
Okay--I broke copyright laws all over the place.


Invitations

With help of Microsoft Office Publisher,
I designed and printed the invitation in-house on cardstock;
trimmed with rotary cutter, acrylic ruler and mat.
Want a shape? Click. Click. Done.
Well, . . . almost. 

Happy Dancers

Somebody needed a moustache.


Do you think I'll face charges for
copyright infringement?

After printing design on white cardstock,
I sketched random lines around each shape
with a fine point Sharpie pen
to give some movement--
just like the book's illustrations.


My nod to February 14th.
Not code for a love triangle   ;~J

I found a celebratory font
called WIZARDRY.


Because I skipped the tutorial on printing double-sided stuff,
Plan B was a go. Glued down a cut-out star and . . .


. . . printed info on vellum paper.
It looks really fancy, but is so easy.


I attached vellum insert with transparent glue dots.
Sheer vellum allowed star shape to peek through.
(White lines are photoshop blurs of info--not the glue!)
While I may not recommend this process for a party of 35, a baker's dozen was pretty easy for this retired housewife to knock out in a day. I found some perfect black chalkboard paper envelopes at Nirvana Hobby Lobby, addressed them with a permanent white 'chalk' pen, and dropped them at the Post Office.
Even though all pertinent info is blocked,
you can see how the "chalk" pen looks on black envelopes.

My only expenses for invitations were glue dots, envelopes, and extra postage (because the awesome chalkboard paper envelopes with the cute little string tie on the flap were 'oversized').

BTW--though mailed 2 weeks prior to the event, only a handful of invites were received beforehand. I mailed myself an invitation so I could see (1) how long it took to arrive, and (2) what it looked like when it showed up in the mailbox. During this particular season, there was 'neither rain, nor snow, nor sleet, nor hail' to slow mail service. Not even extra postage guaranteed timely delivery, because ours arrived on February 24th. Thank goodness for email and texts; everyone came to the party on the 14th.

 
Decorations
With red, white/chalk, black, and silver as my color story, and dancing shapes for fun, I got busy with some crafty stuff.
Which black and white paper design
will get modge-podged to which cardboard box?
These little faces made me smile--such personality for a cardboard box, right?
Googly eyes + pipe cleaner limbs
made small cardboard boxes
come alive.

I attached scrapbook paper to box top
with Mod Podge. Trimmed with sharp
X-acto knife when dry.
Covered curved edges with Washi tape.

I removed lid and
punched small holes to
insert pipe cleaner arms and legs.
Secured inside with a glob
of glue. Replaced lid.

Simple face details were cut from scrap cardstock,
outlined with black Sharpie marker,
and glued in place. 


Attached with fishing line to the chandelier, these little box people danced above the food table.
D checked out the dancing box people,
but mostly his cake.

Their one-dimensional triangle friends hung out on the mantel in a picture frame with black and whites of the guest of honor.
I printed copies of pix from Daniel's year off our computer
on cardstock in black and white; then trimmed and attached to
baker's twine 'clothesline' strung on picture frame.


Little triangle men--happy to hang out.


The other cardboard shape project was a big number 3.
 
Back and sides painted red, number 3 dried
in preparation for chalkboard paper
to be applied to its flat front surface.
Then came chalked stripes.
Happy Third Birthday!

Chalk Lettered Banner
 

These blank chalkboard card banners came pre-strung on nice white grosgrain ribbon, and ready to label. According to Pinterest, unless you're an artist, it's best not to freehand chalkboard lettering.

Here's the drill:
  1. Find desired font. Size letters to fit banner flags.
  2. Print out the sized letters on regular paper.
  3. Work on flat, hard surface. Color the back of each letter heavily and completely with chalk.
  4. Lay letter face up/chalked side down on a flag and trace the letter with the point of a dull pencil. Press hard while tracing; chalk outline will transfer onto the black flag.
  5. Outline each letter with permanent 'chalk' pen.
  6. If desired, fill in letter with design/colored chalk.
  7. Clean any smudges with a slightly damp paper towel and a light swipe.
'WIZARDRY' font had stars, so I placed
those shiny star stickers randomly on each letter,
then chalked the entire letter
before removing the star stickers.
I know, I know--way too much time on my hands.
But I don't take meds for my OCD . . .
 
Here's a list of project materials and their sources.
From Hobby Lobby: 3" shape cardboard boxes, cardboard 3, scrapbook paper, Washi tape, chalkboard envelopes
From Target: red/white baker's twine, blank chalkboard card banners with chalk
From JoAnn: small black plastic clothes pins
From my craft closet: Modge Podge, tacky glue, acrylic craft paint, foam brushes, permanent 'chalk' pen, black fine-point Sharpie marker, craft scissors, rotary cutter/mat/acrylic ruler, X-acto knife, pipe cleaners, googly eyes, vellum paper, colored cardstock, foil star stickers


Finally, I decided on the theme for this Valentine's Day Baptism/Birthday party for our 3 year-old grandson:
CELEBRATE BLESSINGS
 

This chalk banner hung over the party favor/gift table in the dining room.
Silver ribbon curls floated over the gifts.

A second chalk banner was on display from the mantel,
just below pictures of our most recent blessing--a grandson.


Friday, January 3, 2014

Snow People Tutorial


This has been one of the most fun projects I've done in a while.  A little addictive, I have to warn you.  This is a great way to use those mysterious single socks.  By the time you purchase a 12-pack of men's tube socks and find some pairs of crew or ankle socks that make you smile, you may be hooked too.

The idea came from a Better Homes and Gardens website: Cute Sock Snowman with a few modifications.

You will need:
  1. Men's white tube sock/s (one sock can make 2 snow people bodies)
  2. Decorative crew or ankle sock/s (one sock yields 1 sweater and 1 cap)
  3. Scissors
  4. Needle and white thread
  5. Colored jute twine
  6. Hot-glue gun loaded
  7. Felt scraps in black (for eyes) and assorted colors (for scarves)
  8. Hole punch
  9. Tiny buttons, jingle bells, pompoms, etc.
  10. Orange chenille sticks
  11. Thin wire cutters or utility scissors (to cut chenille sticks)**I can still hear my mother saying, "You'll ruin my scissors if you cut that with them!"
  12. RICE, RICE, and more RICE
  13. To make it easier (though not necessary):
          Tweezers (to apply hot glue to eyes)
          Canning funnel (to fill socks with rice)


You'll need up to 5 cups of rice for each snowman--
especially the long, tall ones.
Thin colored jute twine (from another project) worked well.

Eyes can be made from black felt with a hole punch.
[safer alternative for toddler people?]

Or eyes can be tiny black buttons.


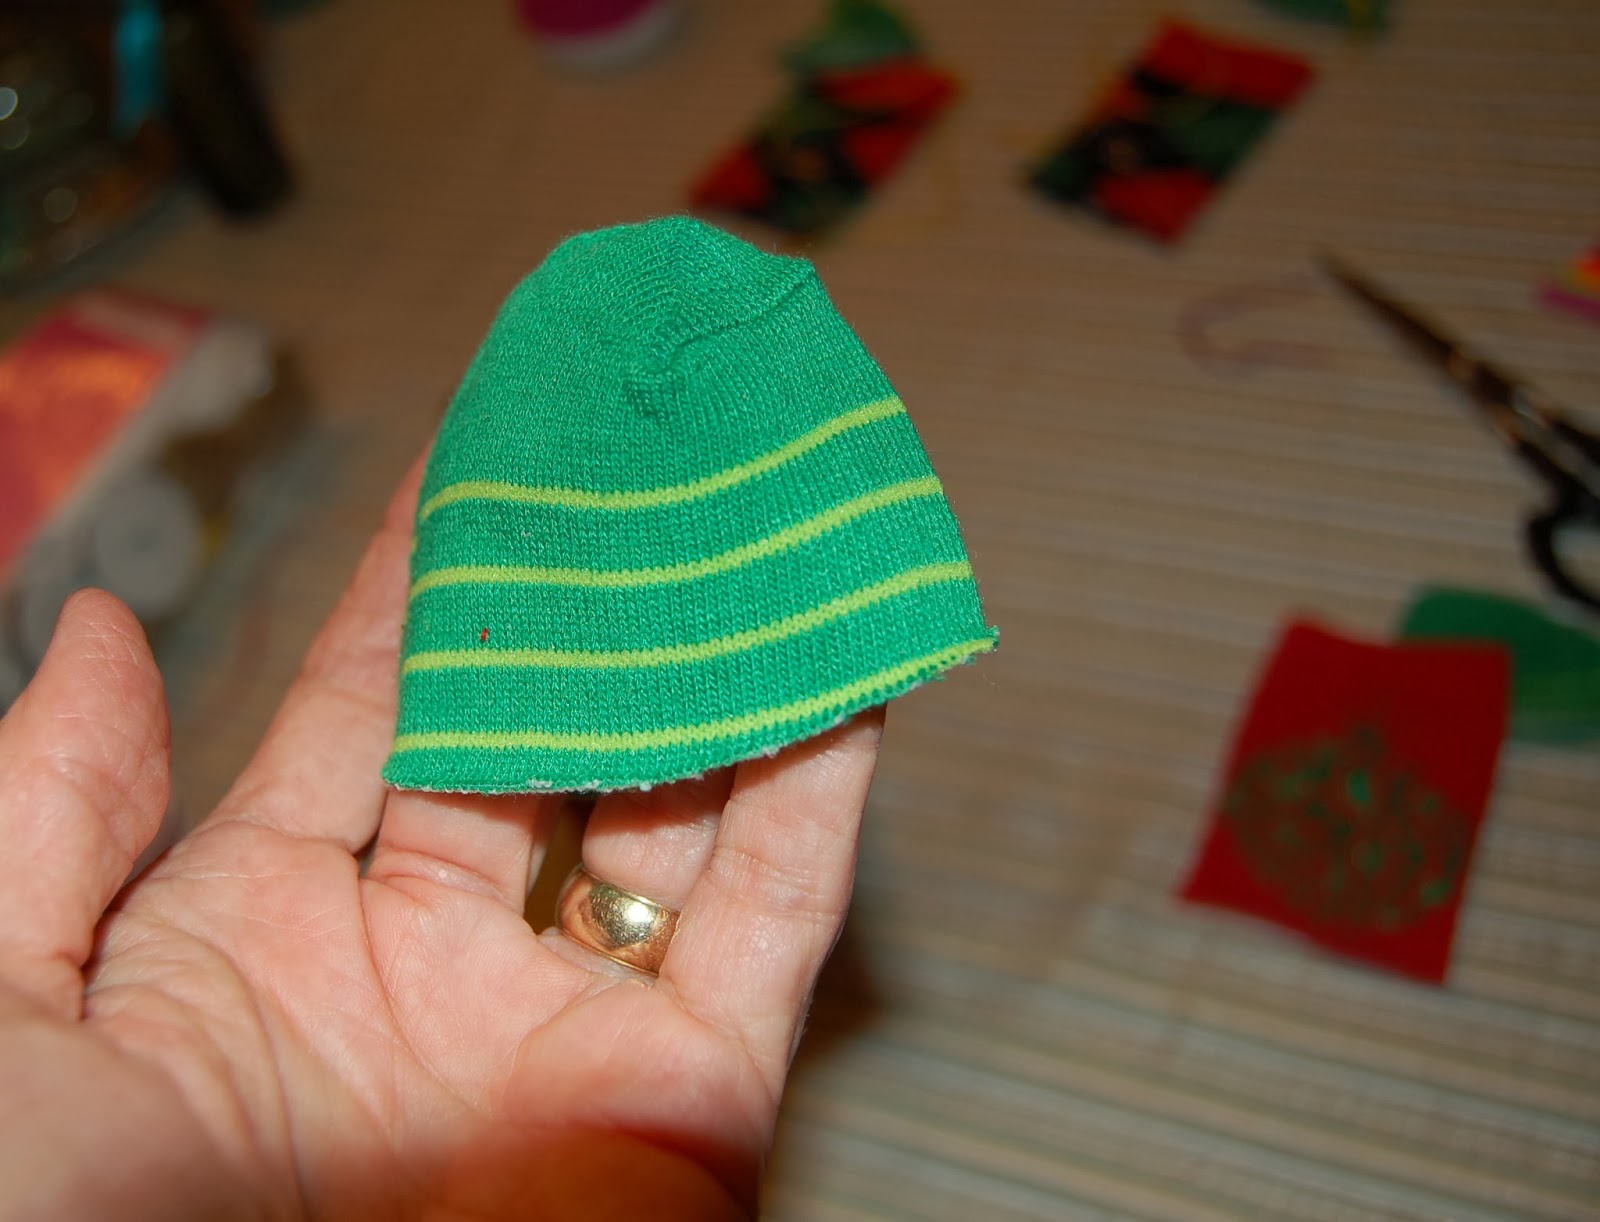
Tube socks for bodies, top of crew socks for sweaters,
crew sock toes for hats

Canning funnel kept the rice going in the right direction.

You know how hot glue melts your fingers?!
Yep, that's why I found my tweezers.

Use felt scraps for scarves.
Now that all your materials are gathered, time to play!
1.  Cut tube sock in two pieces.  Turn the tubes inside-out.  With knotted double thread on the needle, gather one end of a tube and stitch securely.
If you use the toe end of the tube sock,

Gather the toe end below any decoration
and stitch into a tight bunch.

Remember to stitch wrong-side-out.
Then turn it right-side-out.
This makes the bottom of the snowman.
If you use the top part of the tube sock,
gather up the cut end of the tube and stitch
to make the bottom of the snowman.

Doesn't matter if you use the top or the bottom of the sock,
you still get a nice snowman body.
Experiment with the length.
I found that I liked my snow people a little shorter.
2.  Fill the sewn sock body with rice until it's plump and stretchy.  For a longer sock body, it may take 5 cups of rice or more.  Tap the bottom of your snowman on a flat surface to allow rice to settle and plump up.


You'll use lots more rice than you would imagine.

When you think it's full enough,
tap the rice-filled tube on a flat surface
to settle it.  Then add some more.

You'll want that little body to be plump,
with enough room (~2") at the top
to stitch shut.
3.  Again with thread doubled and knotted on the needle, gather up the top of the tube and stitch securely closed.  No rice should escape if you've stitched it tight.
The tube sock top has a finished edge
that may be a little thicker to stitch,
but I like the texture of the body.

The tube sock bottom/toe end
has a cut end to stitch closed.
Make sure to leave ~2" to close.
4.  For sweater, cut top of crew sock straight across just above the heel.  For hat, cut toe/foot of crew sock straight across just below the heel.
This makes a tall cap and sweater.


You might decide to mix some of the sock tops and toes.

If you cut the toe portion a little shorter,
it makes a smaller cap--just as cute.
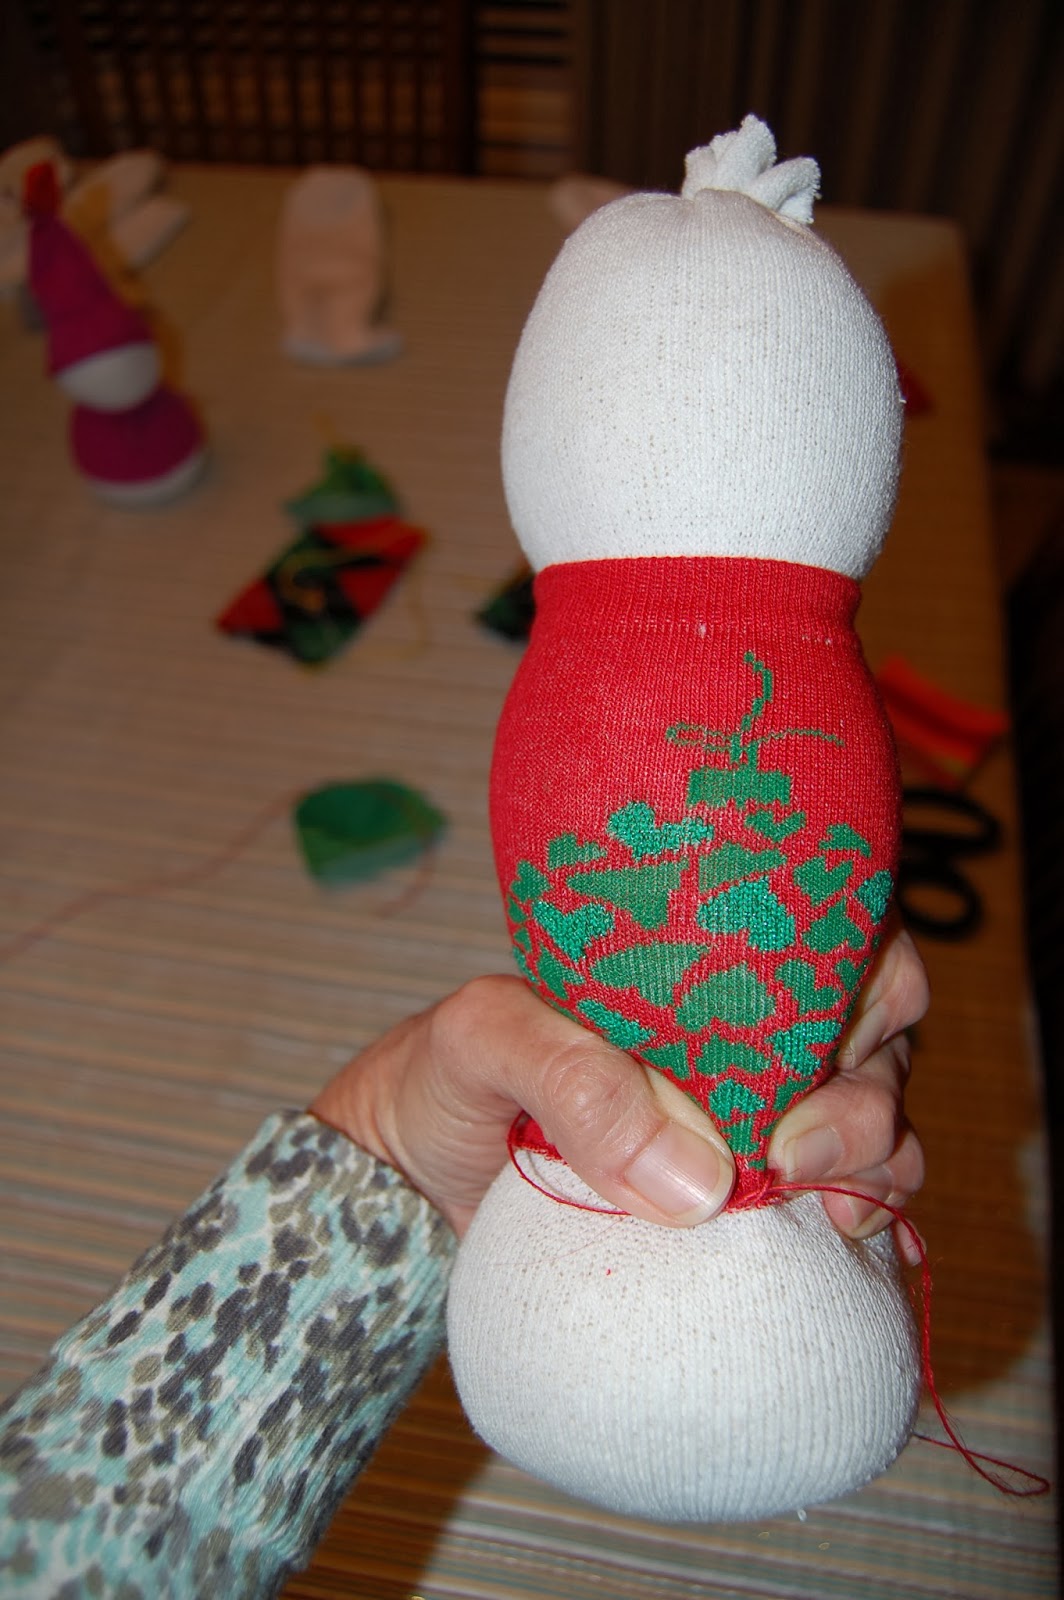
5.  To dress your snowman, pull the sock top/sweater over the snowman body from the bottom; situate it so that a little white shows from the bottom, and enough white shows at the top for the head.  Squeeze the body at the bottom edge of the sweater, letting the rice distribute itself for the snowman base.  Tie a length of jute twine around the bottom of the sweater. 


This long-bodied snowman will have
3 parts--a base, a body, and a head.

Tie jute twine in a double knot, then a bow.
6.  I prefer a two-segment snowman, like this:
Just tie the twine around the top of the sweater,
and your snowman is a squatty body.


7.  Caps come next.  There are two ways to secure the hat in place.  Take it from me, the hat needs to be very well attached, because most people will pick it up by the hat.
If you left a bit of sock above the stitching,
you now have a nice little anchor on which to tie your snowman's cap.

Pull the hat all the way down so you can find
the sock 'anchor' underneath.

Tie the cap together with its sock anchor securely with a tight double knot.
Finish with a bow--or not.
No need to glue.

If you're using the long stocking cap,
or don't have enough of an anchor underneath,

you'll need to apply a bead of hot glue like this.

Quickly place the hat over the glue
and hold in place to set.
Tie a double knot with jute twine on the top
for decoration.
8.  How about some eyes and noses?!

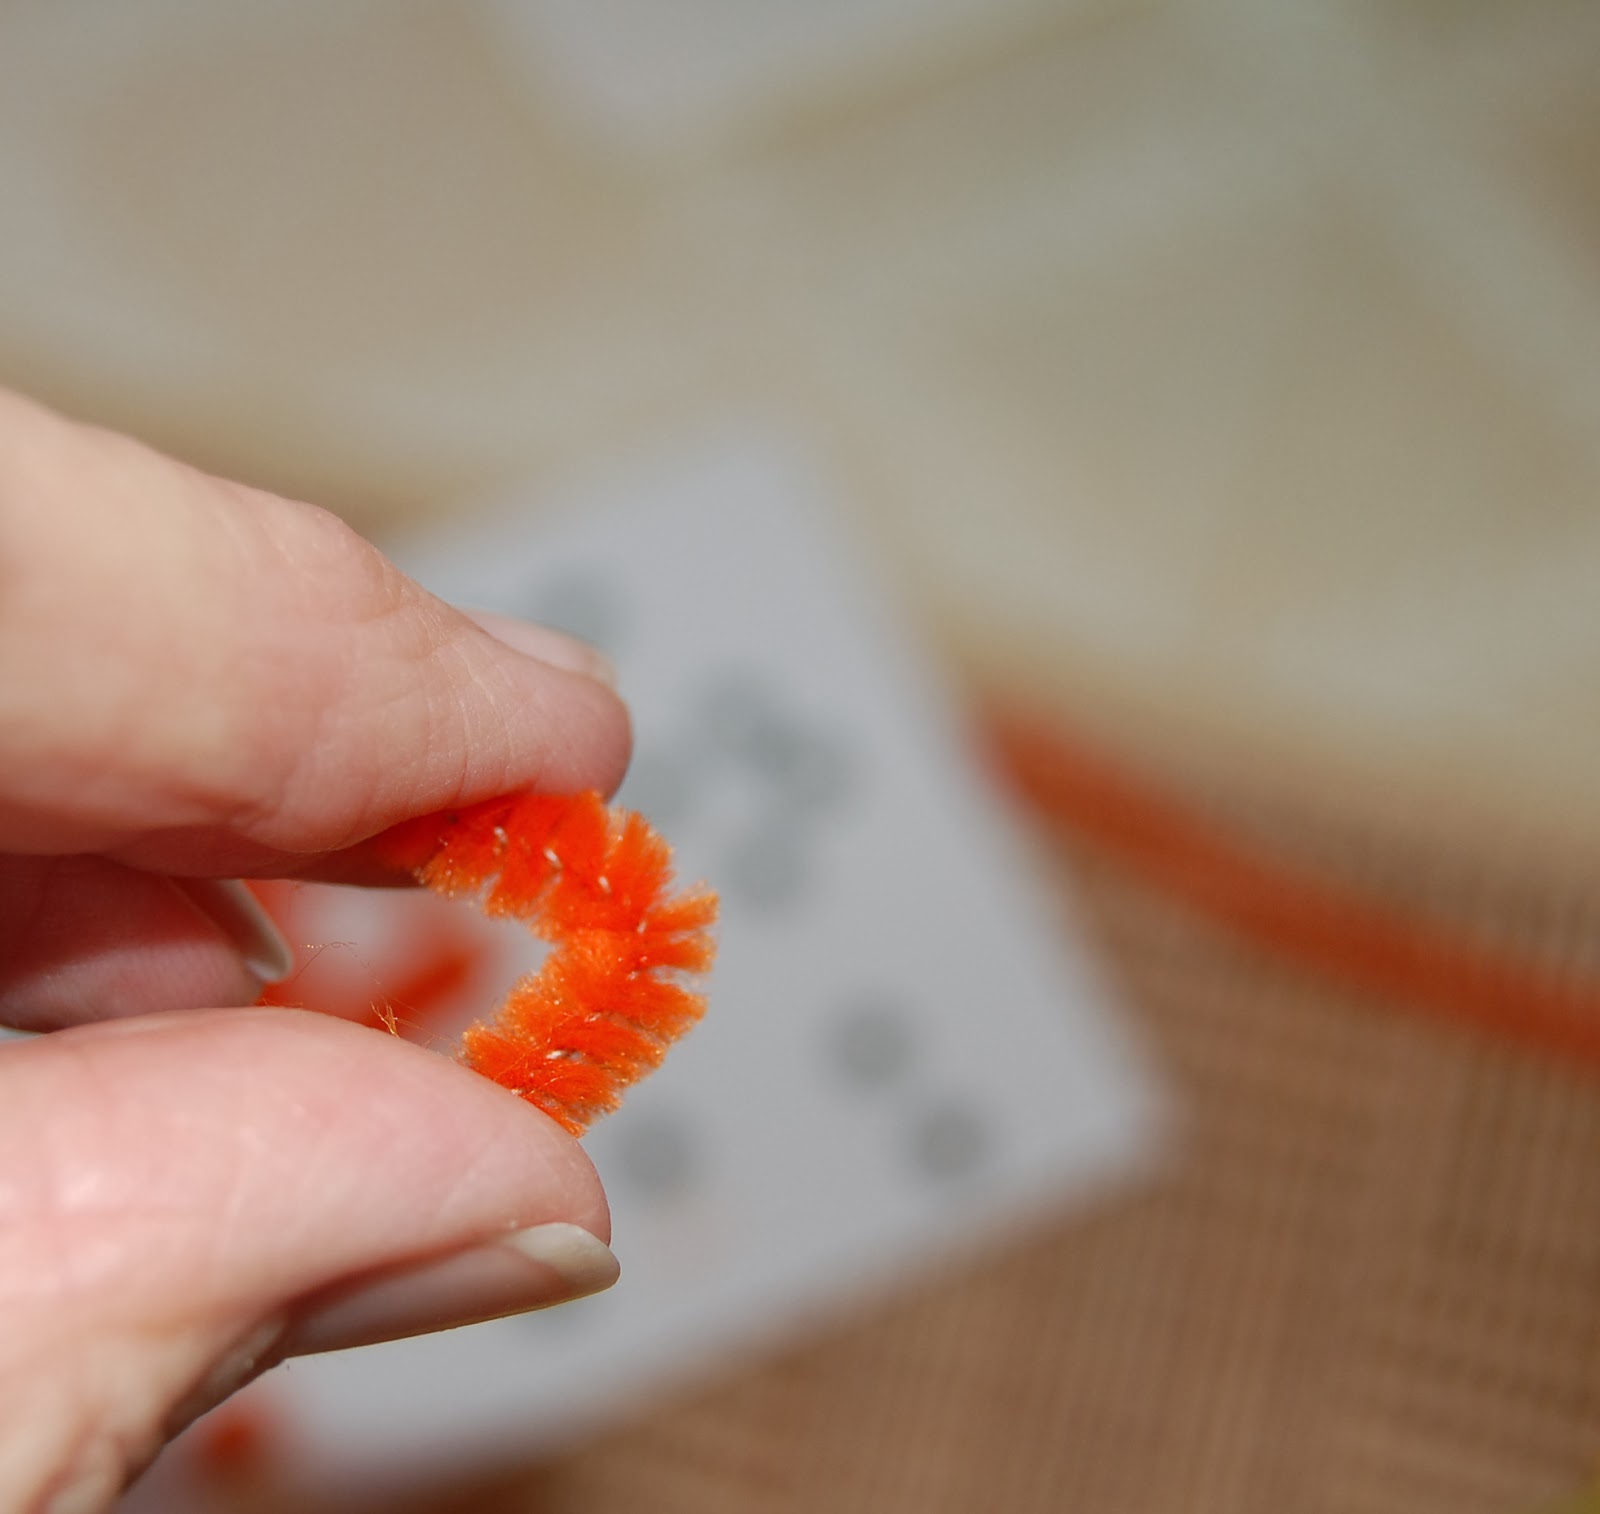
The best noses are chenille strips
cut to about 3/4" to 1" long to start.

Bend the clipped piece until completely doubled over.

Put a dab of hot glue on the cut ends
and insert the nose into the sock just a tad if possible.

Unless you have asbestos fingers, it helps to use tweezers
when applying the tiniest dab of hot glue to the eyes.
If you have a hole punch and scrap of black felt,
make your own eyes.
If not, craft stores usually carry tiny black buttons that work.
9.  Embellish your snowman with a jingle bell, pompoms, or a felt scarf if you want.
BTW--the scarf does not take the place of the jute twine used to tie and shape the neck.  It goes on top.
Scarves:  cut a strip of felt about 1 1/2" to 2" wide.
Before you cut the length--try tying the scarf in place.
You may be surprised how long it needs to be.
When you've determined and cut the length, snip ends to make 'fringe.'
Tie scarf in place, securing with a drop of hot glue underneath.

Cozy and red.

Clothes make the snowman!
Glitter pom is just the right accessory.

Armed for a snowball fight, if he just had arms?!

Jingle bell is tied on with a double knot.
This would be a great winter craft to do with children.  An adult/child team would be best for those who can't yet thread and use a sharp needle or handle a hot-glue gun.

Consider using plastic pellets in place of rice for a permanent snowman.  Otherwise, I suggest emptying the rice and not storing the plump snow people.  (Who wants to invite rice weevils to the attic?)

Better yet, why not stuff the snow people with some fancy rice and give as a gift with a pair of scissors and cooking directions?


To see my gallery of snow people, check this.