Friday, June 26, 2015

A Cheerful Heart

A cheerful heart is good medicine (Proverbs 17:22), so the Bible says. Here's a dose from our favorite three year-old.

Whenever we meet, whether in Texas or California, D's first question is always, "GiGi, are you gonna' stay a long, long, long, long time?"


Once when we picked up the Californians from their midnight arrival at Houston Intercontinental, Papai informed me that all the way to Texas, Daniel kept reminding them that he was not going to sleep when he got to GiGiHeyYea's house. "I'm just gonna' play." With Mamae and Papai's permission, I chose to "play now and sleep when they leave." (This is my sister-in-law's rule enacted whenever she has the rare privilege of a visit with her 2 granddaughters from Switzerland.) So, Daniel and I just played until GiGi tapped out at 3:30AM.


One afternoon post-preschool, Daniel came home wielding a new word--'stupid.' Mamae and Papai told D that 'stupid' was a bad word and he wasn't to say that word, ever. So here's how His Three-ness reacts whenever he hears someone say that word:
"GiGi. Did you hear Shrek? Shrek said stupid. I didn't say stupid. Stupid is a bad word! Shrek said stupid."

In April, I brought Resurrection Eggs to California. A dozen plastic eggs that contain reminders of the story of Jesus' last days on earth help convey the powerful good news of Easter.
From Family Life Today, these eggs hold small reminders
of the story of Jesus' last week of life on earth.

As you can see from the picture, there's:
  1. a donkey-- Jesus rode into Jerusalem on a donkey and everyone cheered Him.
  2. a chalice/cup-- Jesus shared with his disciples in an upstairs room. "Remember Me," he said.
  3. a rooster-- Jesus said it would crow after His friend Peter lied.
  4. silver coins-- Jesus' friend Judas told soldiers where to find Jesus to arrest Him.
  5. praying hands-- Jesus prayed to Father God for help.
  6. a spear and a whip-- soldiers were very mean to Jesus.
  7. a crown of thorns-- soldiers put a prickly crown on Jesus's head.
  8. a cross made of nails to remember how Jesus died
  9. a white cloth-- Jesus' friends took care of his body after He died.
  10. a stone-- soldiers rolled a gigantic stone into the opening to the cave where Jesus was buried.
  11. an empty egg-- Jesus is not in the cave anymore and He is alive.


Here's some of our conversation while D explored the resurrection eggs for hours.
D: (holding the whip) "Is this a mop, GiGi?"
G: "No, D, it's a whip. Like the one that the mean soldiers used to hit Jesus."
D: "You mean they poked him in the eye with the mop?!"

D: "Those bad soldiers poked Jesus in the eye with a spear."
G: "Well, actually, they poked Jesus in His side, not His eye."

D: (holding the donkey and the rooster) "It's okay Jesus. We're your friends!"


There are also some things that throw the earth off its axis.

Things like the hot water that comes from the sink in the ladies' room at Target. Even though I protected his hands from the hot water, cupped cooled water in my hands, and dribbled it all over while helping His Three-ness wash up . . . even though his little hands never got near the faucet, he still could not comprehend the horrible truth that hot water came out of the faucet.

Things like the chocolate milk toxic ooze that leaked out around the straw hole in a cup. Note to self: unless you want to experience a blonde boy writhing in disgust, put only 7.75 ounces of milk in that 8 ounce cup.

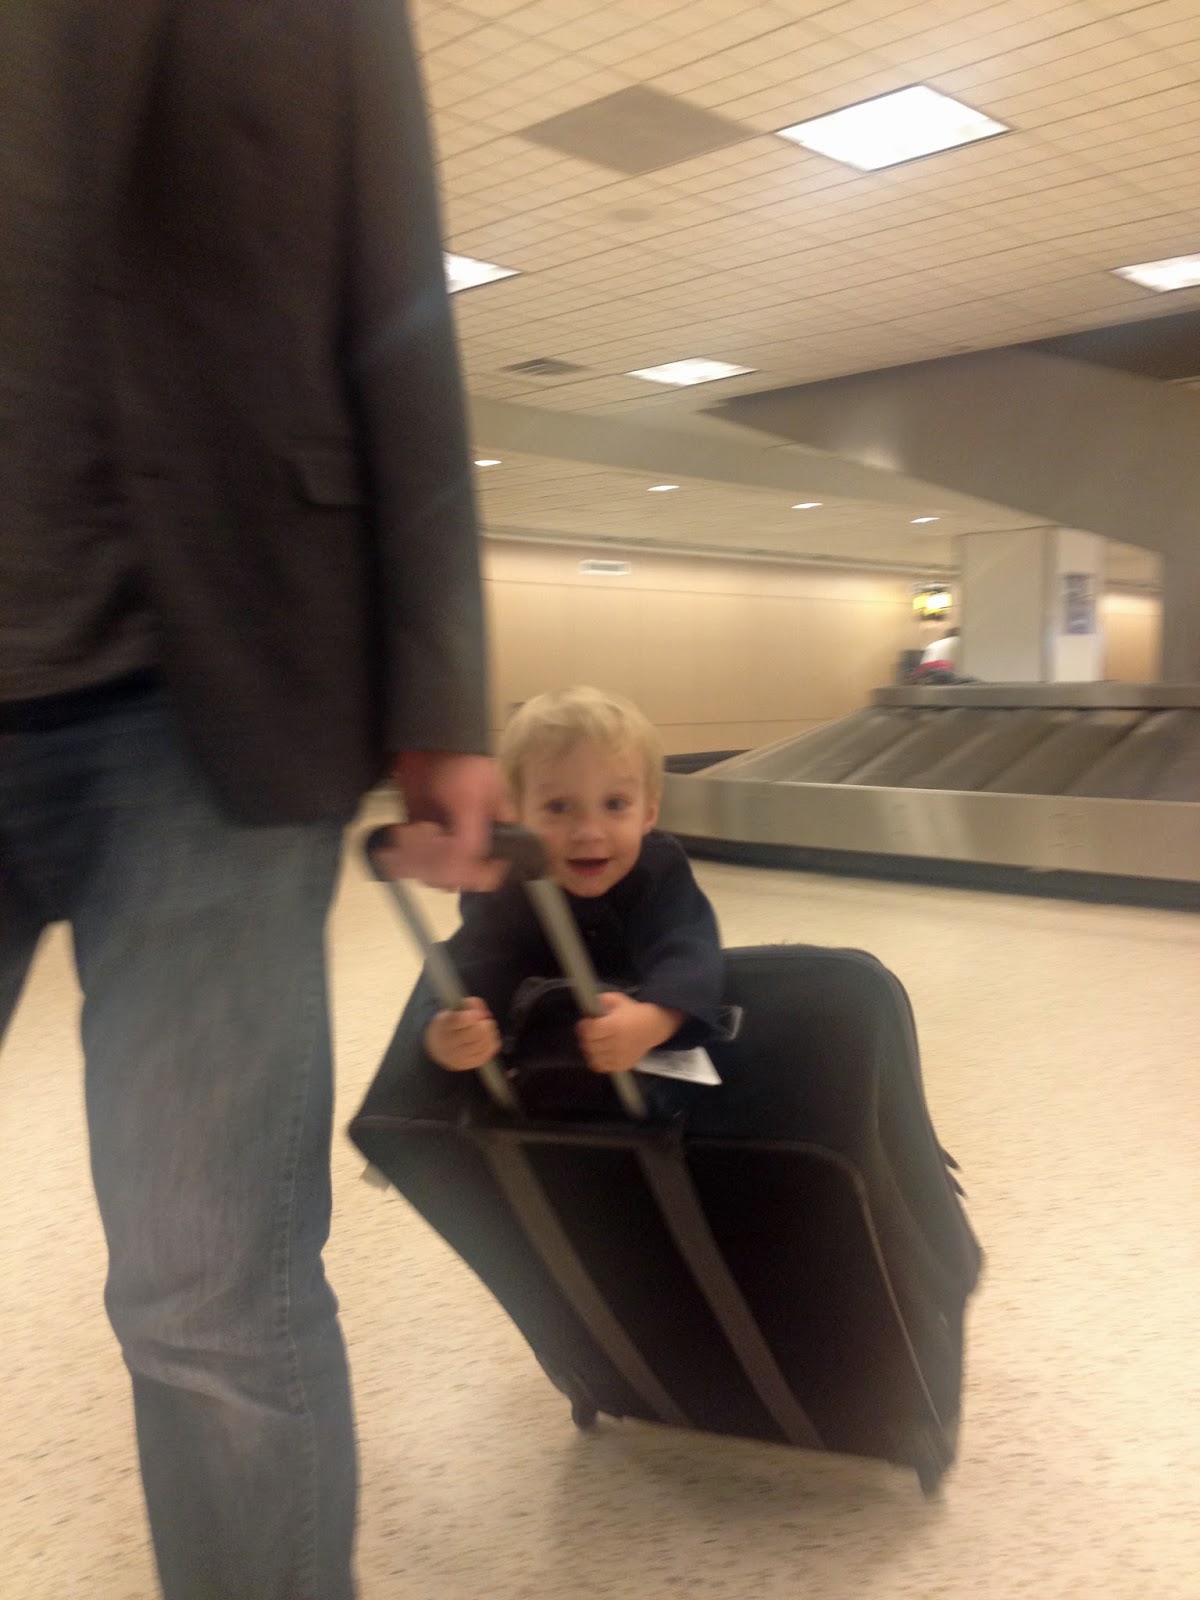
A day in the life . . .!

After a Face Time visit with HeyYea in Texas, Daniel and I were signing off in California. He told HeyYea goodbye and gave him a screen kiss. Then I said, "G'bye, Love. Talk to you soon." When I put the phone down, D looked straight at me and corrected, "HeyYea's not you Love. I am!"


Wednesday, June 17, 2015

Raggedy Fabric Alphabet

 
Here's another project that was lots of fun, with a little challenge thrown in. The wonderful 3 year-old for whom I made this Raggedy Fabric Alphabet is bi-lingual: English and Brazilian Portuguese. So how could I make an alphabet for him without finding fabric that illustrated words from both languages?!

BTW-My Portuguese keyboard is subject to extreme operator error right now.  Apologies.


Here they are:

airplane    aviao

bicycle    bicicleta


car    carro


dinosaur    dinossauro

elephant    elefante


fruit    fruta


giraffe    girafa


helicopter    helicoptero


insect    insecto


jar/jug    jarro


kiwi    kiwi

lizard    lagarto


monkey    macaco

nest    ninho

ogre    ogre


pig    porco


quilt [of cheese?!]    queijo

rat    ratinho


shoes    sapatos


train    trem

unicorn    unicornio


vegetables    vegetais

wagon

xylophone    xilofone


yoyo    yoyo

zebra    zebra

Okay! Stop here if you want.

Continue only if you'd like a tutorial on my raggedy fabric alphabet.

Raggedy Fabric Alphabet Tutorial

1. Make stencils.
[a] Choose a fat or thick font
to showcase lots of fabric.
Size ~ 4" x 6" or less.
 
[b] Print one letter per page,
preferably on cardstock.

[c] Cut each stencil with sharp Xacto knife.
Careful! You will use both the letter
and its negative stencil.

[d] Sharp blade makes it easier to cut
smaller details.
 2. Supplies


[a] Each letter is made of 3 layers of unwashed fabric.
The back is a solid cotton.
[b] The middle layer is felt--
inexpensive craft felt from Hobby Lobby.


[c] The top layer is the cotton novelty print:
airplane, bicycle, car, dinosaur, elephant . . .


[d] In addition to the fabrics and paper stencils, supplies include:
ironing board/iron; rotary cutter/mat/ruler; scissors; Xacto knife;
marking pencils; pins.


[e] Ultra Fine Point Sharpie
marks permanently without bleeding.
White dress marking pencil marks better
on dark fabrics.
[f] Cheese, kiwi, nest, unicorn, xylophone, zebra;
couldn't find these novelty fabrics in Houston area stores.
An online source you'll want to know about--
Spoonflower.

Any design you could possibly want, right here!
 
3. Trace each letter onto novelty fabric.
 
[a] Use both the letter and the negative stencil.

[b] The negative stencil allows you to find
exactly where the letter should be
placed. 3 airplanes--perfect!

Some fabrics have one-way designs.
Some fabrics have random patterns;
a letter could fit many ways.


Either way, the negative stencil
will help locate the best placement.
 
[c] Lightly trace outline of letter
with permanent ultra fine point Sharpie.
 

>>LOOK!>> The faint line is the SEWING line.
It is NOT THE CUTTING LINE.
 4. Assemble layers.

[a] Once the letter is traced onto its novelty fabric,
>>LOOK>> leave a generous margin of 1-2" and
cut the fabric into a square or rectangle around the letter.


[b] Layer backing fabric wrong side up
on ironing board. Top with felt.
Each letter (both upper and lower case)
usually fits on one craft felt rectangle.
[c] The last layer is the letter square,
right side up on top of felt.


[d] Next,
press 3-layer fabric sandwich**
with warm iron.
**No paper please!

[e] Then,
cut letter sandwiches apart
leaving generous margins
along edge of novelty fabric square.


5. Sew layers.

[a] OPTION: add a dotted line
for little fingers to trace the shape of each letter.
'Draw' an imperfect rustic line with a needle
and black perle cotton embroidery. 


[b] I recommend using a silicone finger tip
like this one found in the
office supply department at WalMart.


It helps arthritic fingers grip the needle,
minimizing the discomfort.
Skip the embroidering OPTION and go straight
to the sewing machine if you want.

[c] Using black thread and a short stitch length on the sewing machine,
stitch, tracing the Sharpie marker line around the letter.
Be sure to finish with a backstitch.

A shorter stitch length makes it easier to negotiate curves
while stitching.
6. Trim letters.
[a] Trim each letter sandwich ~1/4" from sewing line.
Sharp scissors help cut through all three layers.

[b] For inside cuts, fold letter to make a snip in the middle.
Careful!

[c] Insert tip of scissors in the snip. Carefully
cut to within ~1/4" of sewn line . . .

. . . in the form of a cross or X.

[d] With scissor tips, trim within 1/4" of the machine stitching
all the way around.

 7. Snip + Wash + Fluff = Raggedy Fabric Alphabet!

[a] Now the letter is ready to be snipped!
With scissors parallel to machine stitching line,
snip carefully every 1/8" or so to make the edges raggedy.
>>LOOK>> Avoid clipping the machine stitches.
 

[b] Look closely to see that the letters have been snipped
all around their perimeters. Once washed in the washer and dried in the dryer
several times, the edges will be fluffy and raggedy.
What To Do With a Raggedy Fabric Alphabet?

Learn your letters. Manipulate the shapes. Trace each letter. Place the letters in order. Match upper and lower case letters. Spell out words. Learn beginning sounds. Have a letter hunt.

Hang the alphabet with clothespins from a clothes line to decorate a wall. Display your child's name from a clothes line or velcro tabs on the wall. Make a letter or name mobile.