Here's another project that was lots of fun, with a little challenge thrown in. The wonderful 3 year-old for whom I made this Raggedy Fabric Alphabet is bi-lingual: English and Brazilian Portuguese. So how could I make an alphabet for him without finding fabric that illustrated words from both languages?!
BTW-My Portuguese keyboard is subject to extreme operator error right now. Apologies.
Here they are:
 |
| airplane aviao |
 |
| bicycle bicicleta |
 |
| car carro |
 |
| dinosaur dinossauro |
 |
| elephant elefante |
 |
| fruit fruta |
 |
| giraffe girafa |
 |
| helicopter helicoptero |
 |
| insect insecto |
 |
| jar/jug jarro |
 |
| kiwi kiwi |
 |
| lizard lagarto |
 |
| monkey macaco |
 |
| nest ninho |
 |
| ogre ogre |
 |
| pig porco |
 |
| quilt [of cheese?!] queijo |
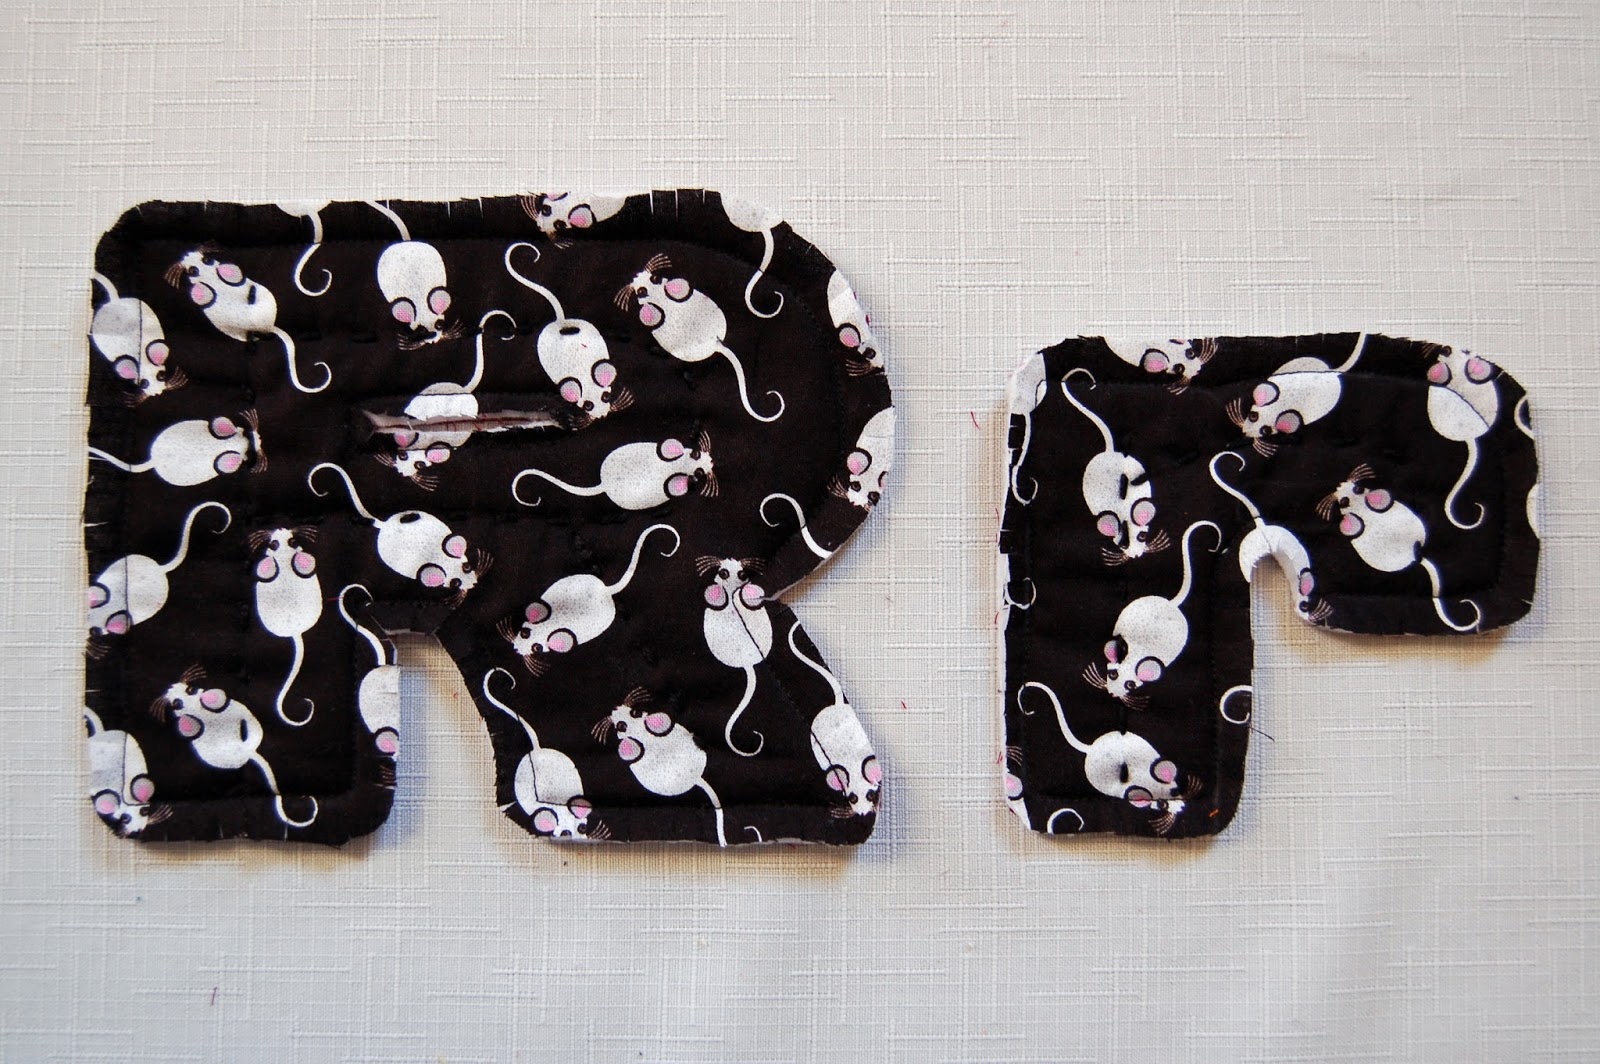 |
| rat ratinho |
 |
| shoes sapatos |
 |
| train trem |
 |
| unicorn unicornio |
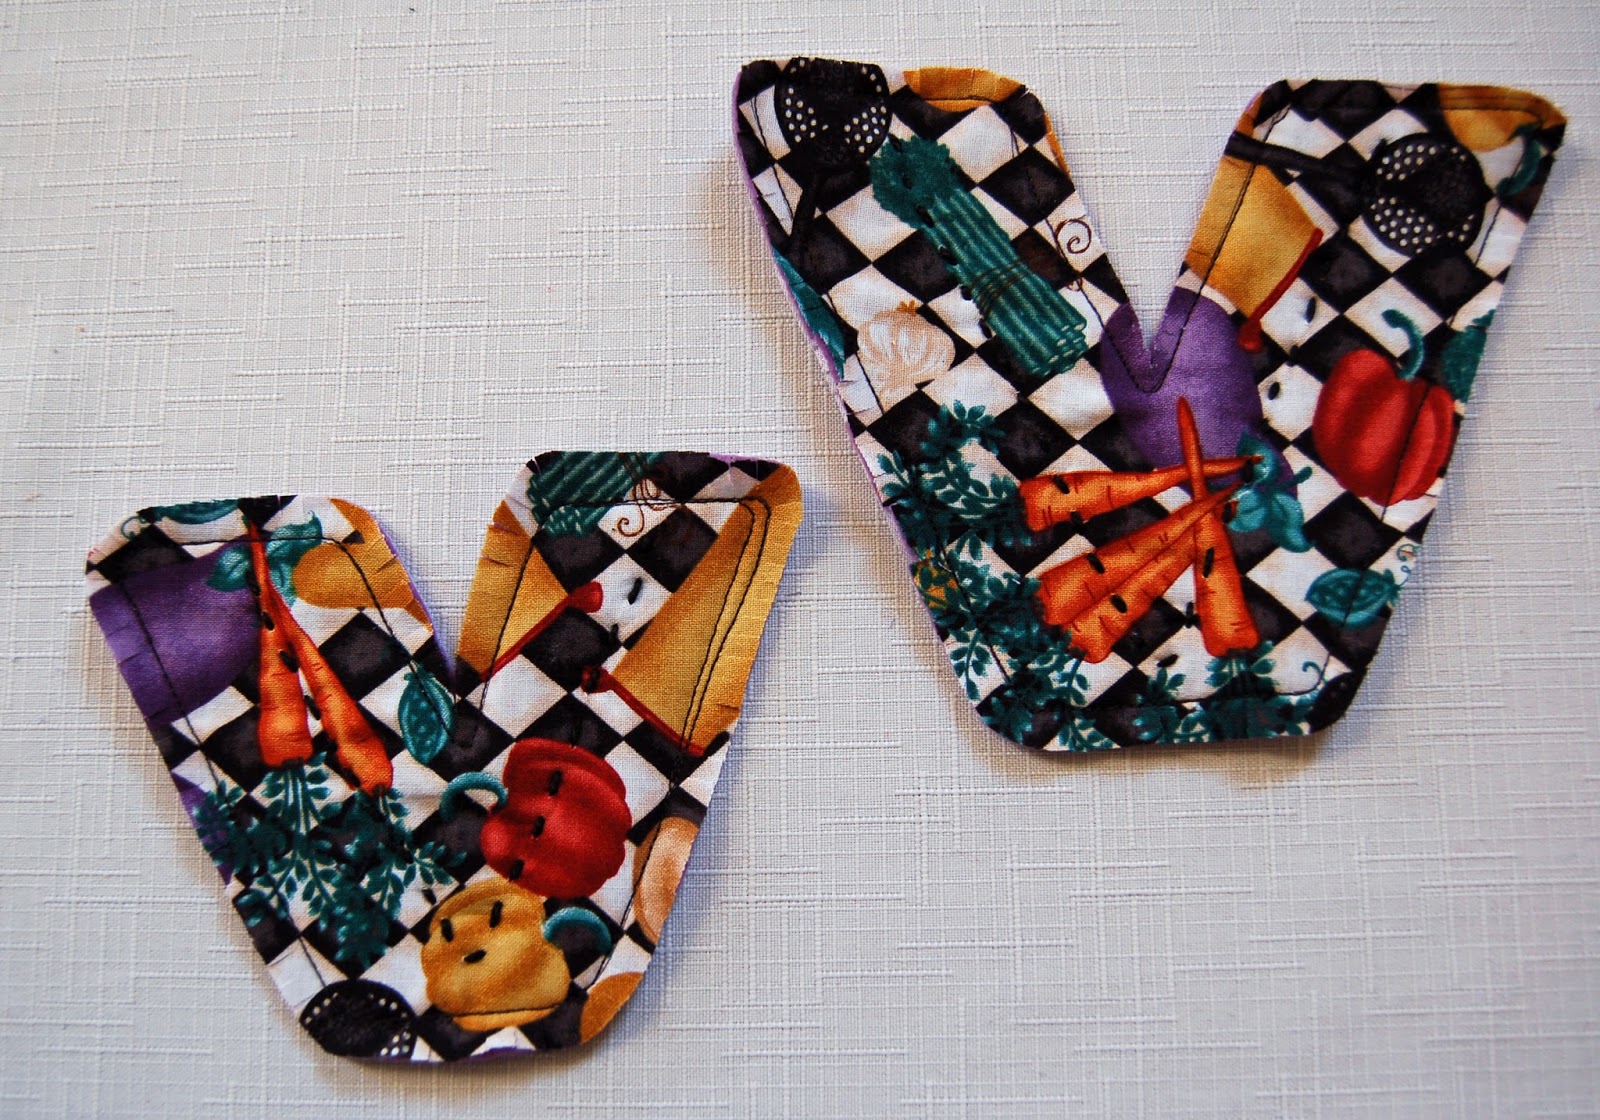 |
| vegetables vegetais |
 |
| wagon |
 |
| xylophone xilofone |
 |
| yoyo yoyo |
 |
| zebra zebra |
Okay! Stop here if you want.
Continue only if you'd like a tutorial on my raggedy fabric alphabet.
Raggedy Fabric Alphabet Tutorial
1. Make stencils.
 |
| [a] Choose a fat or thick font to showcase lots of fabric. Size ~ 4" x 6" or less. |
 |
| [b] Print one letter per page, preferably on cardstock. |
 |
| [c] Cut each stencil with sharp Xacto knife. Careful! You will use both the letter and its negative stencil. |
 |
| [d] Sharp blade makes it easier to cut smaller details. |
 |
| [a] Each letter is made of 3 layers of unwashed fabric. The back is a solid cotton. |
 |
| [b] The middle layer is felt-- inexpensive craft felt from Hobby Lobby. |
 |
| [c] The top layer is the cotton novelty print: airplane, bicycle, car, dinosaur, elephant . . . |
 |
| [d] In addition to the fabrics and paper stencils, supplies include: ironing board/iron; rotary cutter/mat/ruler; scissors; Xacto knife; marking pencils; pins. |
 |
| [e] Ultra Fine Point Sharpie marks permanently without bleeding. White dress marking pencil marks better on dark fabrics. |
 |
| [f] Cheese, kiwi, nest, unicorn, xylophone, zebra; couldn't find these novelty fabrics in Houston area stores. An online source you'll want to know about-- Spoonflower. |
 |
| Any design you could possibly want, right here! |
3. Trace each letter onto novelty fabric.
 |
| [a] Use both the letter and the negative stencil. |
 |
| [b] The negative stencil allows you to find exactly where the letter should be placed. 3 airplanes--perfect! |
 |
| Some fabrics have one-way designs. |
 |
| Some fabrics have random patterns; a letter could fit many ways. |
 |
| Either way, the negative stencil will help locate the best placement. |
 |
| [c] Lightly trace outline of letter with permanent ultra fine point Sharpie. |
 |
| >>LOOK!>> The faint line is the SEWING line. It is NOT THE CUTTING LINE. |
 |
| [a] Once the letter is traced onto its novelty fabric, >>LOOK>> leave a generous margin of 1-2" and cut the fabric into a square or rectangle around the letter. |
 |
| [b] Layer backing fabric wrong side up on ironing board. Top with felt. Each letter (both upper and lower case) usually fits on one craft felt rectangle. |
 |
| [c] The last layer is the letter square, right side up on top of felt. [d] Next, press 3-layer fabric sandwich** with warm iron. **No paper please! [e] Then, cut letter sandwiches apart leaving generous margins along edge of novelty fabric square. |
5. Sew layers. |
| [a] OPTION: add a dotted line for little fingers to trace the shape of each letter. 'Draw' an and black perle cotton embroidery. |
 |
| [b] I recommend using a silicone finger tip like this one found in the office supply department at WalMart. |
 |
| It helps arthritic fingers grip the needle, minimizing the discomfort. Skip the embroidering OPTION and go straight to the sewing machine if you want. |
 |
| [c] Using black thread and a short stitch length on the sewing machine, stitch, tracing the Sharpie marker line around the letter. Be sure to finish with a backstitch. |
 |
| A shorter stitch length makes it easier to negotiate curves while stitching. |
 |
| [a] Trim each letter sandwich ~1/4" from sewing line. Sharp scissors help cut through all three layers. |
 |
| [b] For inside cuts, fold letter to make a snip in the middle. Careful! |
 |
| [c] Insert tip of scissors in the snip. Carefully cut to within ~1/4" of sewn line . . . |
 |
| . . . in the form of a cross or X. |
 |
| [d] With scissor tips, trim within 1/4" of the machine stitching all the way around. |
7. Snip + Wash + Fluff = Raggedy Fabric Alphabet!
 |
| [a] Now the letter is ready to be snipped! With scissors parallel to machine stitching line, snip carefully every 1/8" or so to make the edges raggedy. >>LOOK>> Avoid clipping the machine stitches. |
What To Do With a Raggedy Fabric Alphabet? |
| [b] Look closely to see that the letters have been snipped all around their perimeters. Once washed in the washer and dried in the dryer several times, the edges will be fluffy and raggedy. |
Learn your letters. Manipulate the shapes. Trace each letter. Place the letters in order. Match upper and lower case letters. Spell out words. Learn beginning sounds. Have a letter hunt.
Hang the alphabet with clothespins from a clothes line to decorate a wall. Display your child's name from a clothes line or velcro tabs on the wall. Make a letter or name mobile.


No comments:
Post a Comment